Introduction
The Midnight Rooftop Cinematic Prompt is an AI photo-editing concept built to turn an ordinary portrait into a moody, black-and-white nighttime scene. It combines urban architecture, atmospheric city lights, dramatic low-key lighting, and relaxed streetwear into a single cinematic editorial image.
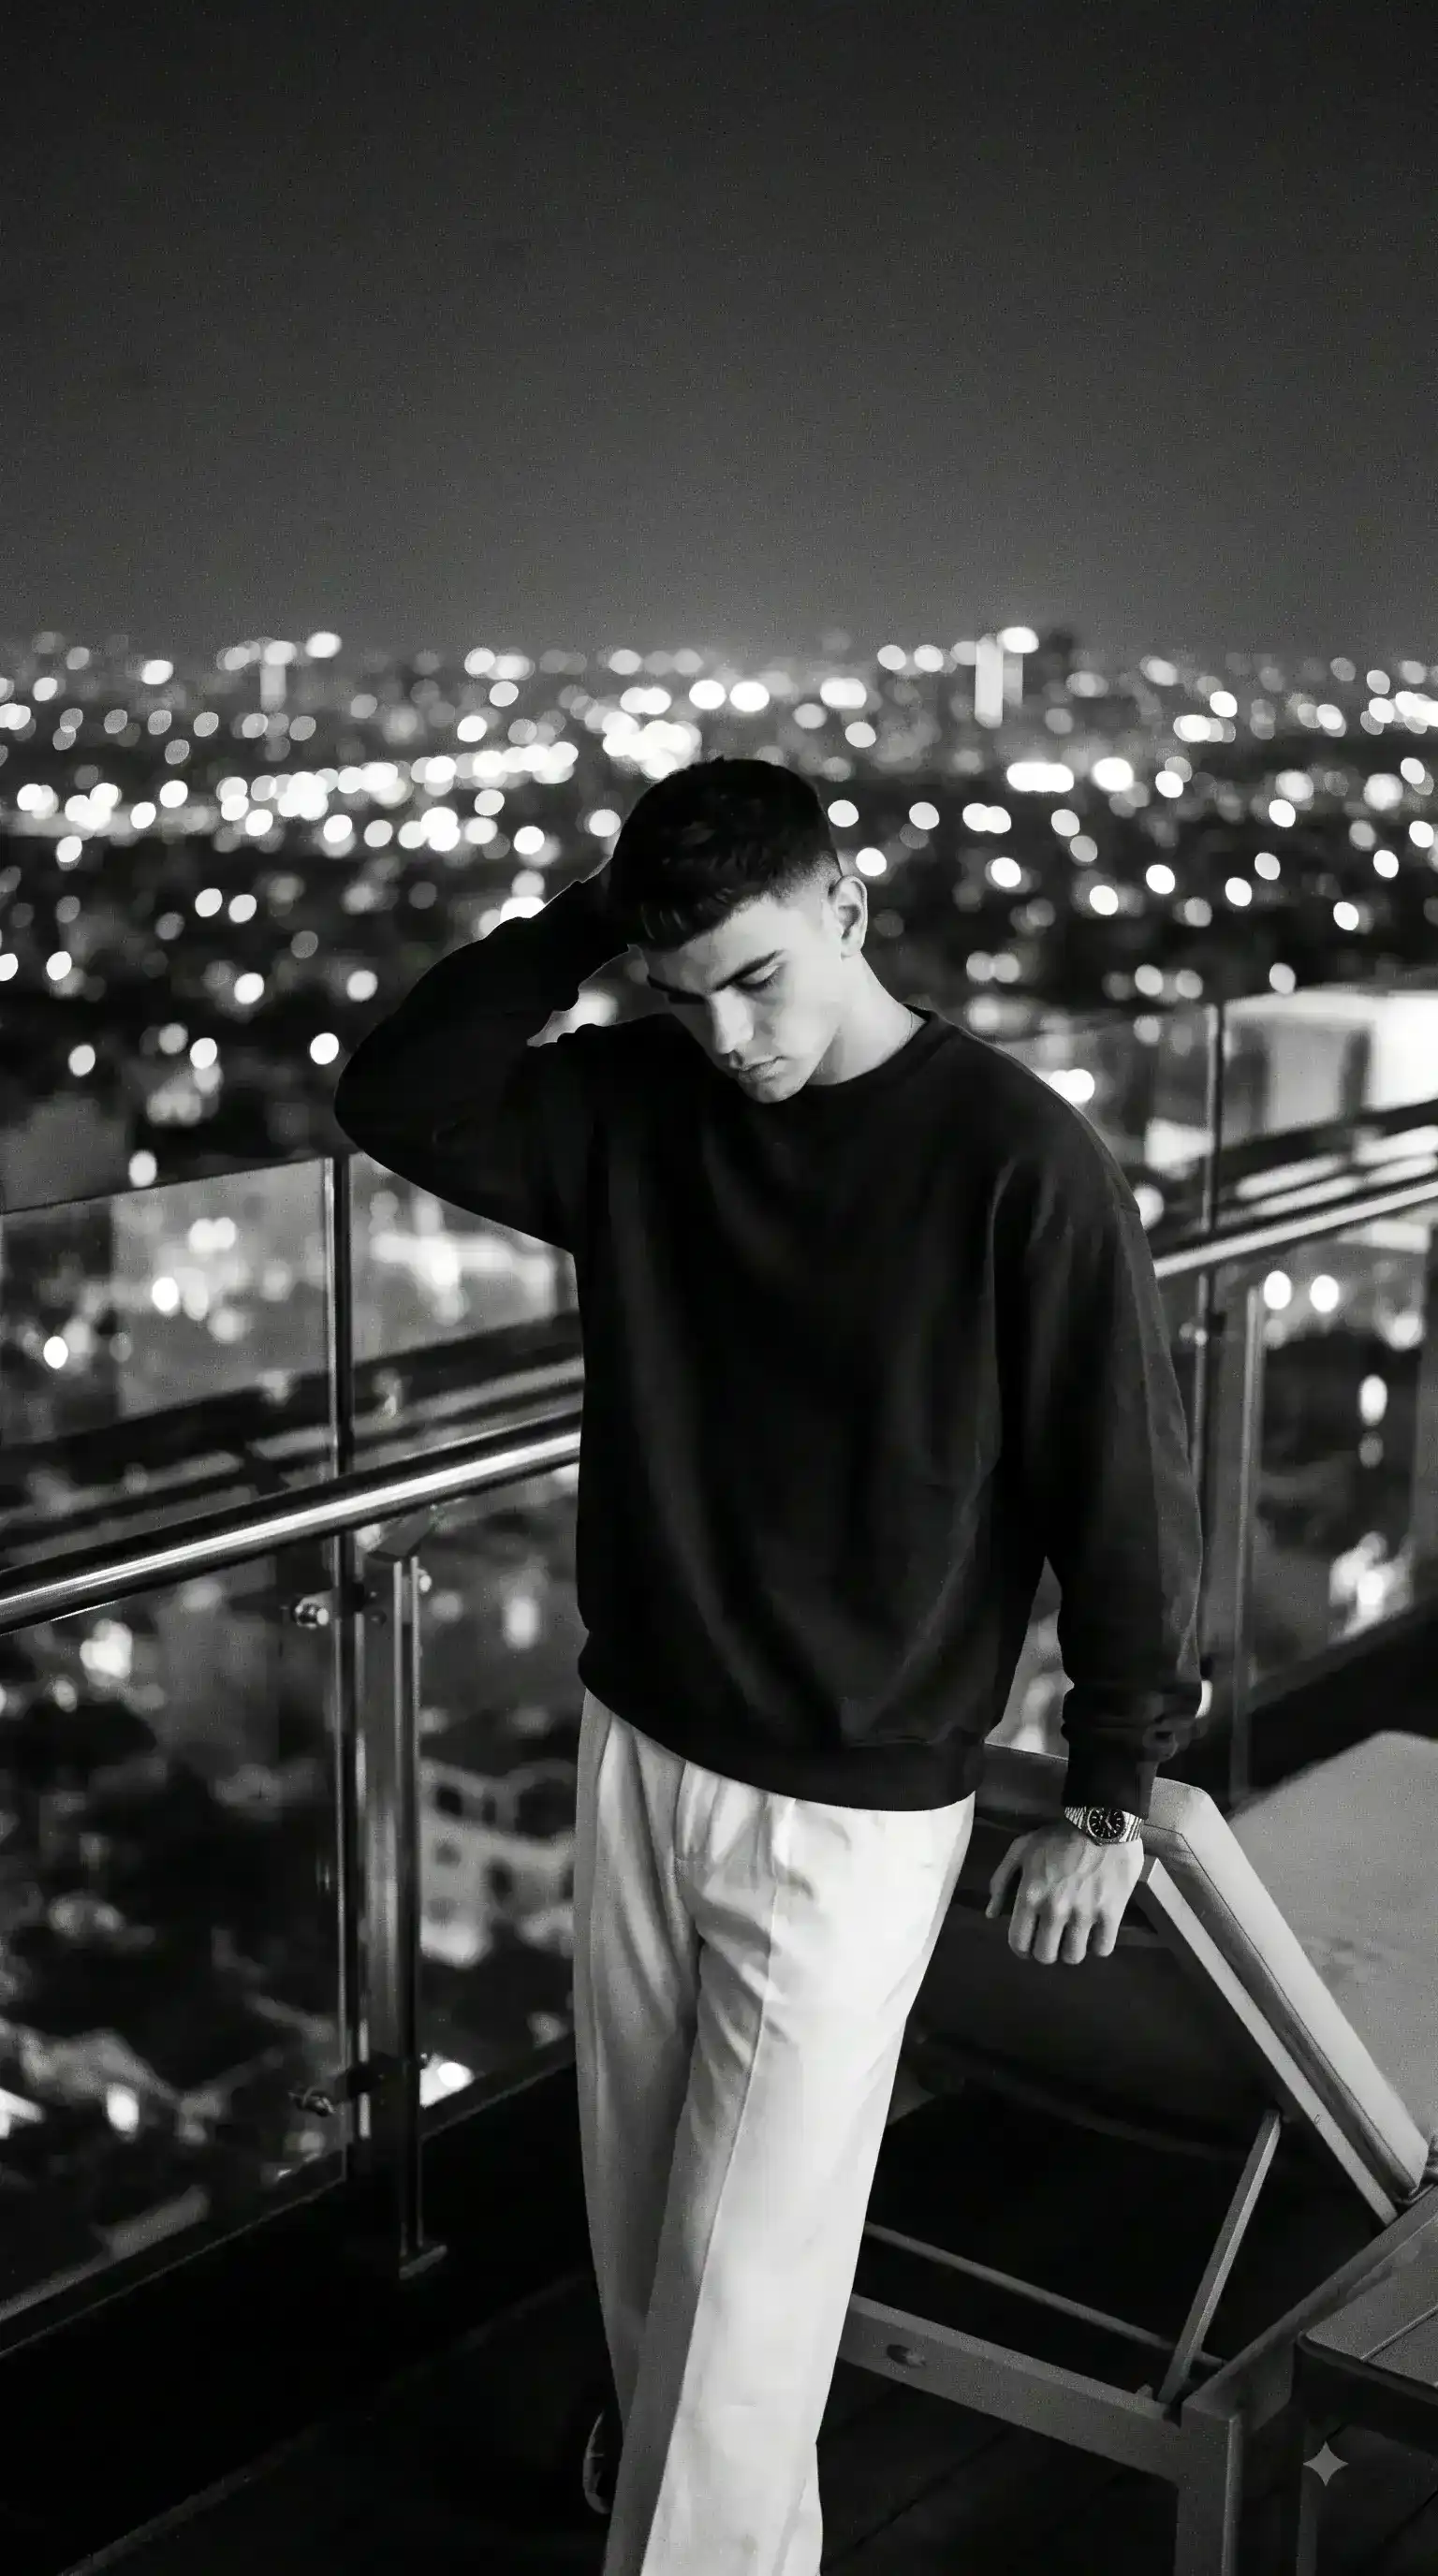
The subject: a stylish man on a rooftop at night, standing near a glass and metal railing. His head tilts downward for a thoughtful, introspective mood, one hand resting behind his hair, the other on a dark chair beside him. The pose feels relaxed rather than staged, giving the image a sense of quiet solitude. He wears a dark oversized sweatshirt, light-colored loose trousers, and a minimalist wristwatch — the tonal contrast between dark top and light bottom works especially well in monochrome, separating the figure clearly from its surroundings.
Behind him, a vast cityscape glows with thousands of tiny lights, kept heavily blurred so the skyline reads as atmosphere rather than detail, keeping full focus on the subject. The black-and-white grade — deep blacks, controlled highlights, natural skin texture, subtle film grain — gives the shot a timeless, professionally shot feel. As with other reference-based portraits, the subject's real face, hairstyle, and proportions stay intact while everything else is reimagined.
“Midnight Rooftop Cinematic Prompt”
Cinematic B&W Night Portrait: A moody, black-and-white portrait featuring the man from the reference photo, recognizable by his features and hairstyle. He stands near a glass and metal railing on a rooftop at night. His head is tilted down, conveying an emotional, mysterious mood, with one hand behind his hair and the other resting on a dark chair. He wears a dark oversized sweatshirt and light-colored loose trousers with a wristwatch. The background is a vast, blurred cityscape filled with thousands of tiny, glowing lights. Dramatic low-key lighting outlines his silhouette against the atmospheric city haze. This vertical shot (9:16) has high dynamic range, natural skin texture, deep blacks, and subtle film grain. Shot on a 35mm lens. (B&W / Monochrome, No Text).
How To Use Photo Editing?
Using the Midnight Rooftop Cinematic Prompt is straightforward when the editing process is divided into a few simple stages. The most important step is choosing a suitable reference photograph.
Step 1: Select a Good Reference Photo
Choose a clear, high-resolution photograph where the person's face and hairstyle are visible. A front-facing or slightly angled image can work well because it gives the AI useful information about facial structure. Avoid images with excessive blur, strong filters, very dark shadows, or objects covering the face.
Step 2: Upload the Reference Image
Upload the selected photograph to an AI photo-editing or image-generation platform that supports reference images.
Add an identity-preservation instruction such as:
“Use the uploaded photograph as the primary identity reference. Preserve the subject's recognizable facial features, hairstyle, natural skin texture, and proportions while changing the environment, clothing, lighting, and cinematic atmosphere.”
This helps separate the identity transformation from the creative scene transformation.
Step 3: Add the Complete Prompt
Paste the full Midnight Rooftop Cinematic Prompt into the prompt field. Include the rooftop, railing, city lights, chair, clothing, pose, black-and-white treatment, camera details, and lighting instructions. Detailed prompts provide more control over the final image.
Step 4: Generate Multiple Variations
Create several variations and compare them carefully. Look for the version with the strongest facial resemblance, most natural pose, realistic hands, convincing clothing, and best city-light composition.
Tools You Can Use For Prompt Copy and Create Photo
Different categories of AI and editing tools can be used to create this cinematic rooftop concept.
1. AI Image Generators
AI image-generation platforms can create complete cinematic scenes from text prompts. They can generate the rooftop, cityscape, clothing, lighting, pose, atmosphere, and photographic composition. For reference-based portraits, choose a platform that supports image references or character consistency.
2. AI Photo Editors
AI photo-editing tools are useful when you already have an existing portrait and want to transform it into a nighttime rooftop scene. These tools can assist with background replacement, clothing changes, lighting modifications, and environmental transformations.
3. Professional Editing Software
Traditional editing software can be used for final adjustments after generating the image. Exposure, contrast, shadows, highlights, cropping, sharpness, and grain can all be refined manually. For a monochrome portrait, professional editing software can also provide precise control over individual grayscale tones.
4. Image Enhancement Tools
AI enhancement and upscaling tools can improve resolution and fine details after the image has been generated. They may help improve hair strands, fabric texture, facial details, city lights, and overall sharpness. Use enhancement carefully because excessive sharpening can introduce unnatural textures.
How To Edit Photo?
Once the initial image has been generated, carefully inspect each major component of the portrait.
Step 1: Check Facial Identity
Compare the generated face with the reference photograph. Examine the eyes, eyebrows, nose, lips, jawline, hairstyle, and facial proportions. The subject should remain recognizable without excessive beautification or artificial skin smoothing. If the face has changed significantly, regenerate the image using stronger reference-image instructions.
Step 2: Refine the Expression
The downward head position should communicate a thoughtful, mysterious, and emotional atmosphere. The expression should remain subtle and natural rather than exaggerated. A relaxed face combined with the downward gaze can create a stronger cinematic feeling.
Step 3: Improve the Dark Sweatshirt
The oversized sweatshirt should have realistic fabric texture, natural folds, and believable shadows. Because the image is monochrome, texture becomes especially important. Avoid making the sweatshirt completely flat black. Subtle grayscale variations should reveal the fabric structure.
Step 4: Refine the Light Trousers
The loose trousers should maintain realistic proportions and natural folds. Their lighter tone creates visual separation from the dark sweatshirt and helps define the subject's lower body. Make sure the trousers do not become overly bright compared with the face and city background.
Step 5: Check the Hands and Pose
Hands are often one of the most challenging elements for AI image generation. Carefully inspect the hand positioned behind the hair and the hand resting on the chair. Make sure fingers are anatomically correct and naturally connected to the wrists. The pose should feel relaxed rather than artificially staged.
Step 6: Enhance the Rooftop
The glass and metal railing should appear realistic and properly aligned. Subtle reflections can add depth without distracting from the subject. The dark chair should remain visible enough to explain the pose while staying secondary to the main subject.
Step 7: Improve the Cityscape
The background should contain a large metropolitan city filled with thousands of tiny lights. These lights should gradually become softer and more abstract toward the distance. A strong bokeh effect can transform individual buildings and lights into a beautiful atmospheric backdrop.
Step 8: Adjust Low-Key Lighting
Low-key lighting is one of the most important elements of the concept. Use controlled illumination to reveal selected parts of the subject while allowing other areas to fall naturally into shadow. Subtle highlights around the face, hair, shoulders, and clothing can create a dramatic silhouette.
Step 9: Apply Black-and-White Grading
Convert the final image to a sophisticated monochrome treatment. Maintain deep blacks, clean whites, and a broad range of intermediate gray tones. Avoid crushing every shadow into pure black because important clothing and facial details can disappear. Subtle film grain can add an authentic photographic character.
Step 10: Choose the Final Composition
The 9:16 vertical format is ideal for social media stories, reels, mobile wallpapers, and cinematic portrait posts. Keep the subject centrally or slightly off-center depending on the composition. Leave enough negative space around the figure to emphasize the vastness of the nighttime city.
Conclusion
This concept merges urban nightlife, monochrome photography, and emotional storytelling into one striking portrait. The oversized sweatshirt and light trousers form a simple but visually strong wardrobe, while the rooftop, blurred skyline, and low-key lighting build a mood of solitude and mystery. Success depends on a strong reference photo, a detailed prompt covering identity, pose, wardrobe, and lighting, and a careful review pass on the face, hands, textures, and grayscale balance. Done well, it turns an ordinary photo into a cinematic, editorial-quality black-and-white portrait suited for social media, fashion portfolios, wallpapers, and creative personal branding.